Google 开源的深度学习框架 tensorflow 成为2016年最受欢迎的深度学习框架之一。tensorflow 除了支持 pc 端外,还较好的支持了 android,iOS 移动端平台。移动端作为现在互联网的终端主宰,tensorflow 毫无疑问地会引起移动互联网行业的广泛关注。深度学习在2016年的火爆,以及移动终端的主宰地位,作为程序员的我们,不玩玩 tensorflow 简直就 out 了。
1. fork Github 上的 tensorflow repo
tensorflow 的仓库 repo 位于 Github 上,我们作为开发者要在其基础上做开发,首先就需要 fork 一份 repo 到自己的 Github 账户下。
2. 参考 tensorflow 的官方使用文档编译(使用 tensorflow r1.0 版本)
参考tensorflow 的官方使用文档编译 iOS 平台上的 tensorflow 库。
Note: To use this library in an iOS application, see related instructions in
the iOS examples directory.
Install XCode 7.3 or more recent. If you have not already, you will need to
install the command-line tools using xcode-select:
1 | xcode-select --install |
If this is a new install, you will need to run XCode once to agree to the
license before continuing.
Then install automake/libtool:
1 | brew install automake |
Also, download the graph if you haven’t already:
1 | mkdir -p ~/graphs |
Note: Building all at once.
If you just want to get the libraries compiled in a hurry, you can run this
from the root of your TensorFlow source folder:
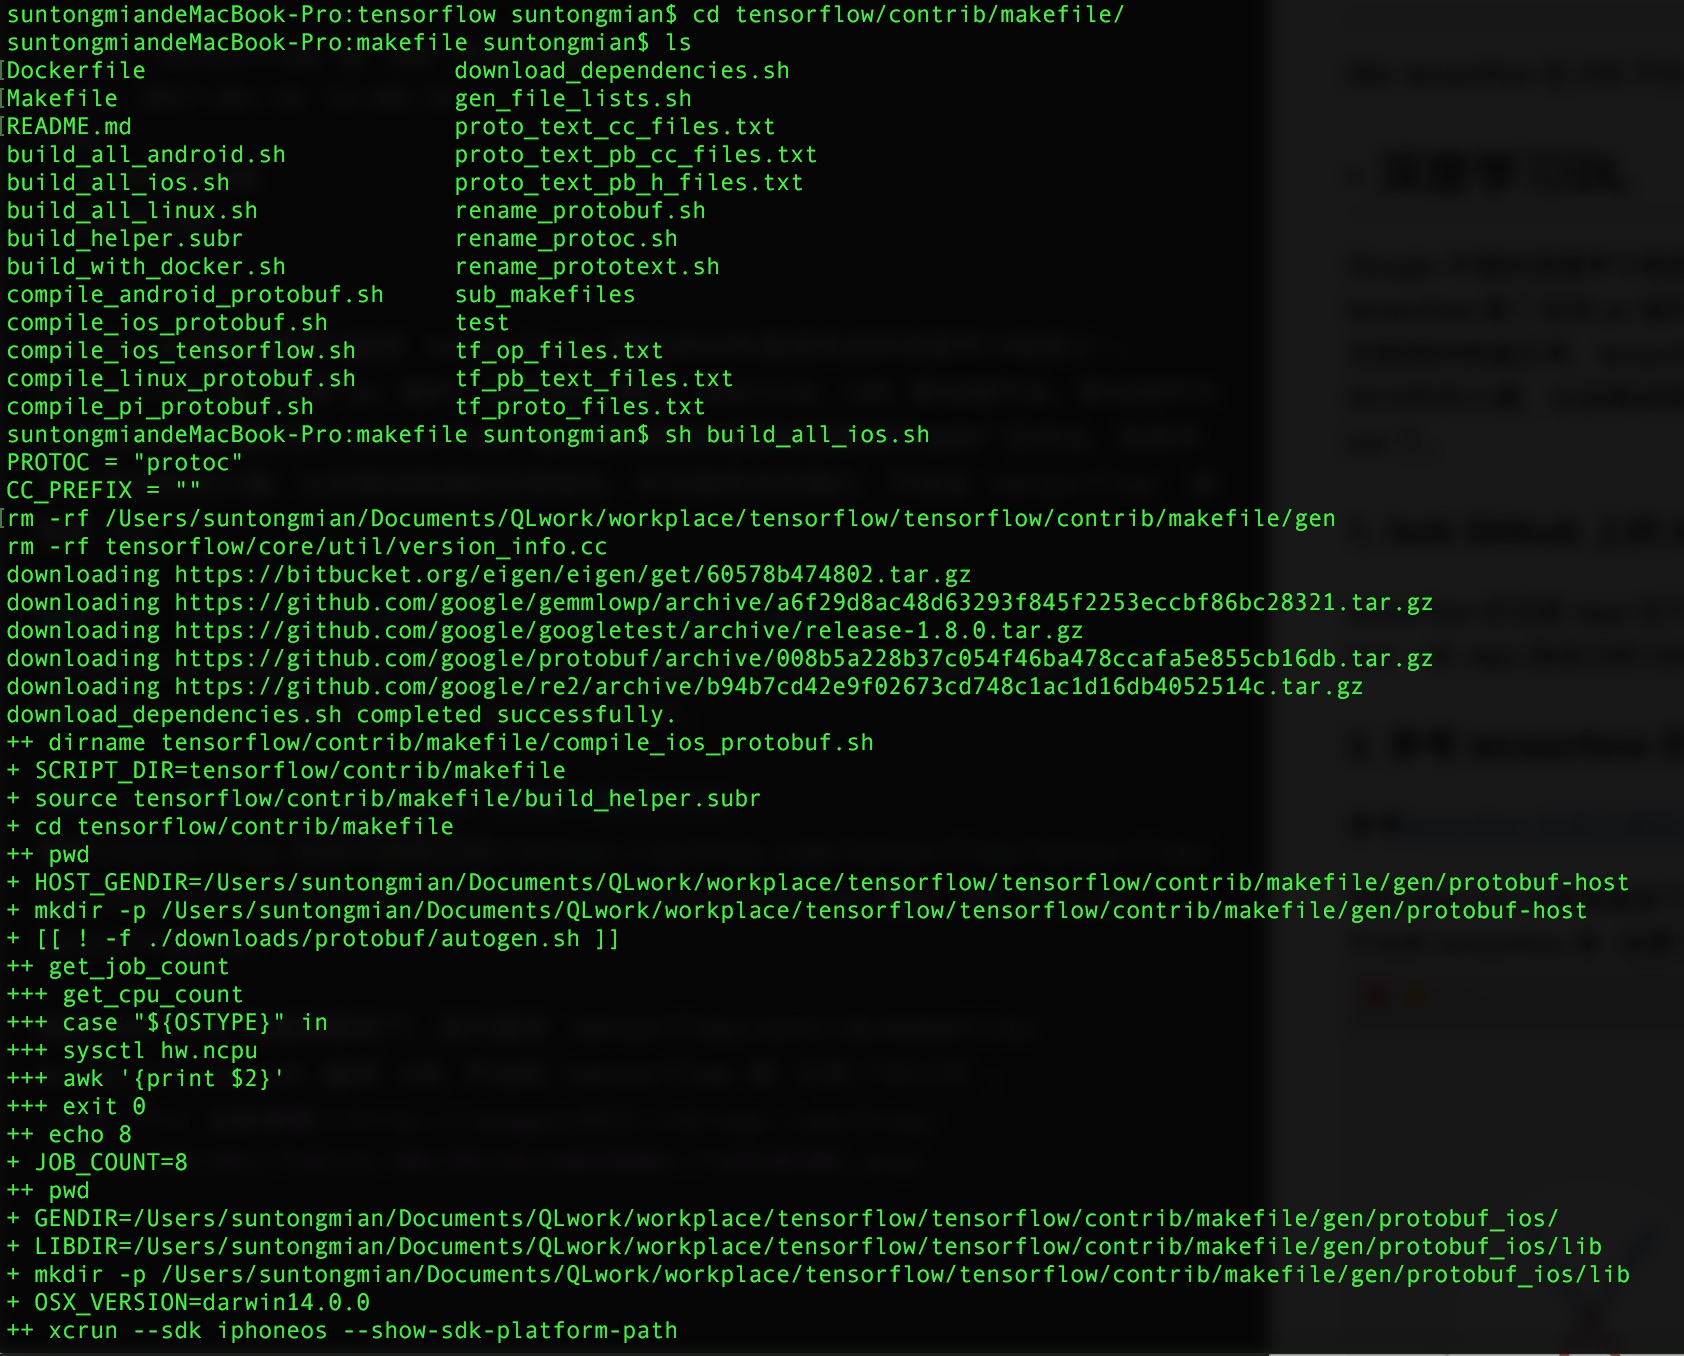
1 | tensorflow/contrib/makefile/build_all_ios.sh |
This process will take around twenty minutes on a modern MacBook Pro.
When it completes, you will have a library for a single architecture and the
benchmark program. Although successfully compiling the benchmark program is a
sign of success, the program is not a complete iOS app.
To see TensorFlow running on iOS, the example Xcode project in
tensorflow/contrib/ios_examples shows how to use the static
library in a simple app.
我使用的 Xcode 版本如下
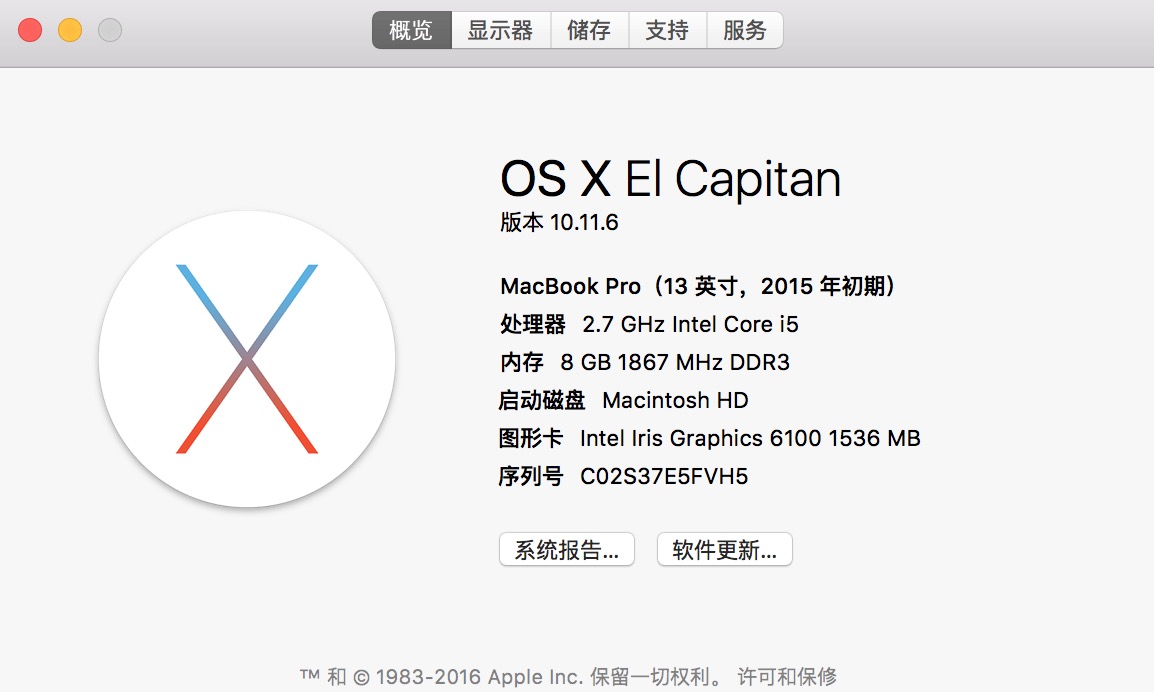
我的 Mac Pro 设备参数如下,执行脚本 tensorflow/contrib/makefile/build_all_ios.sh 编译 iOS 平台的 tensorflow 库花费了90分钟。
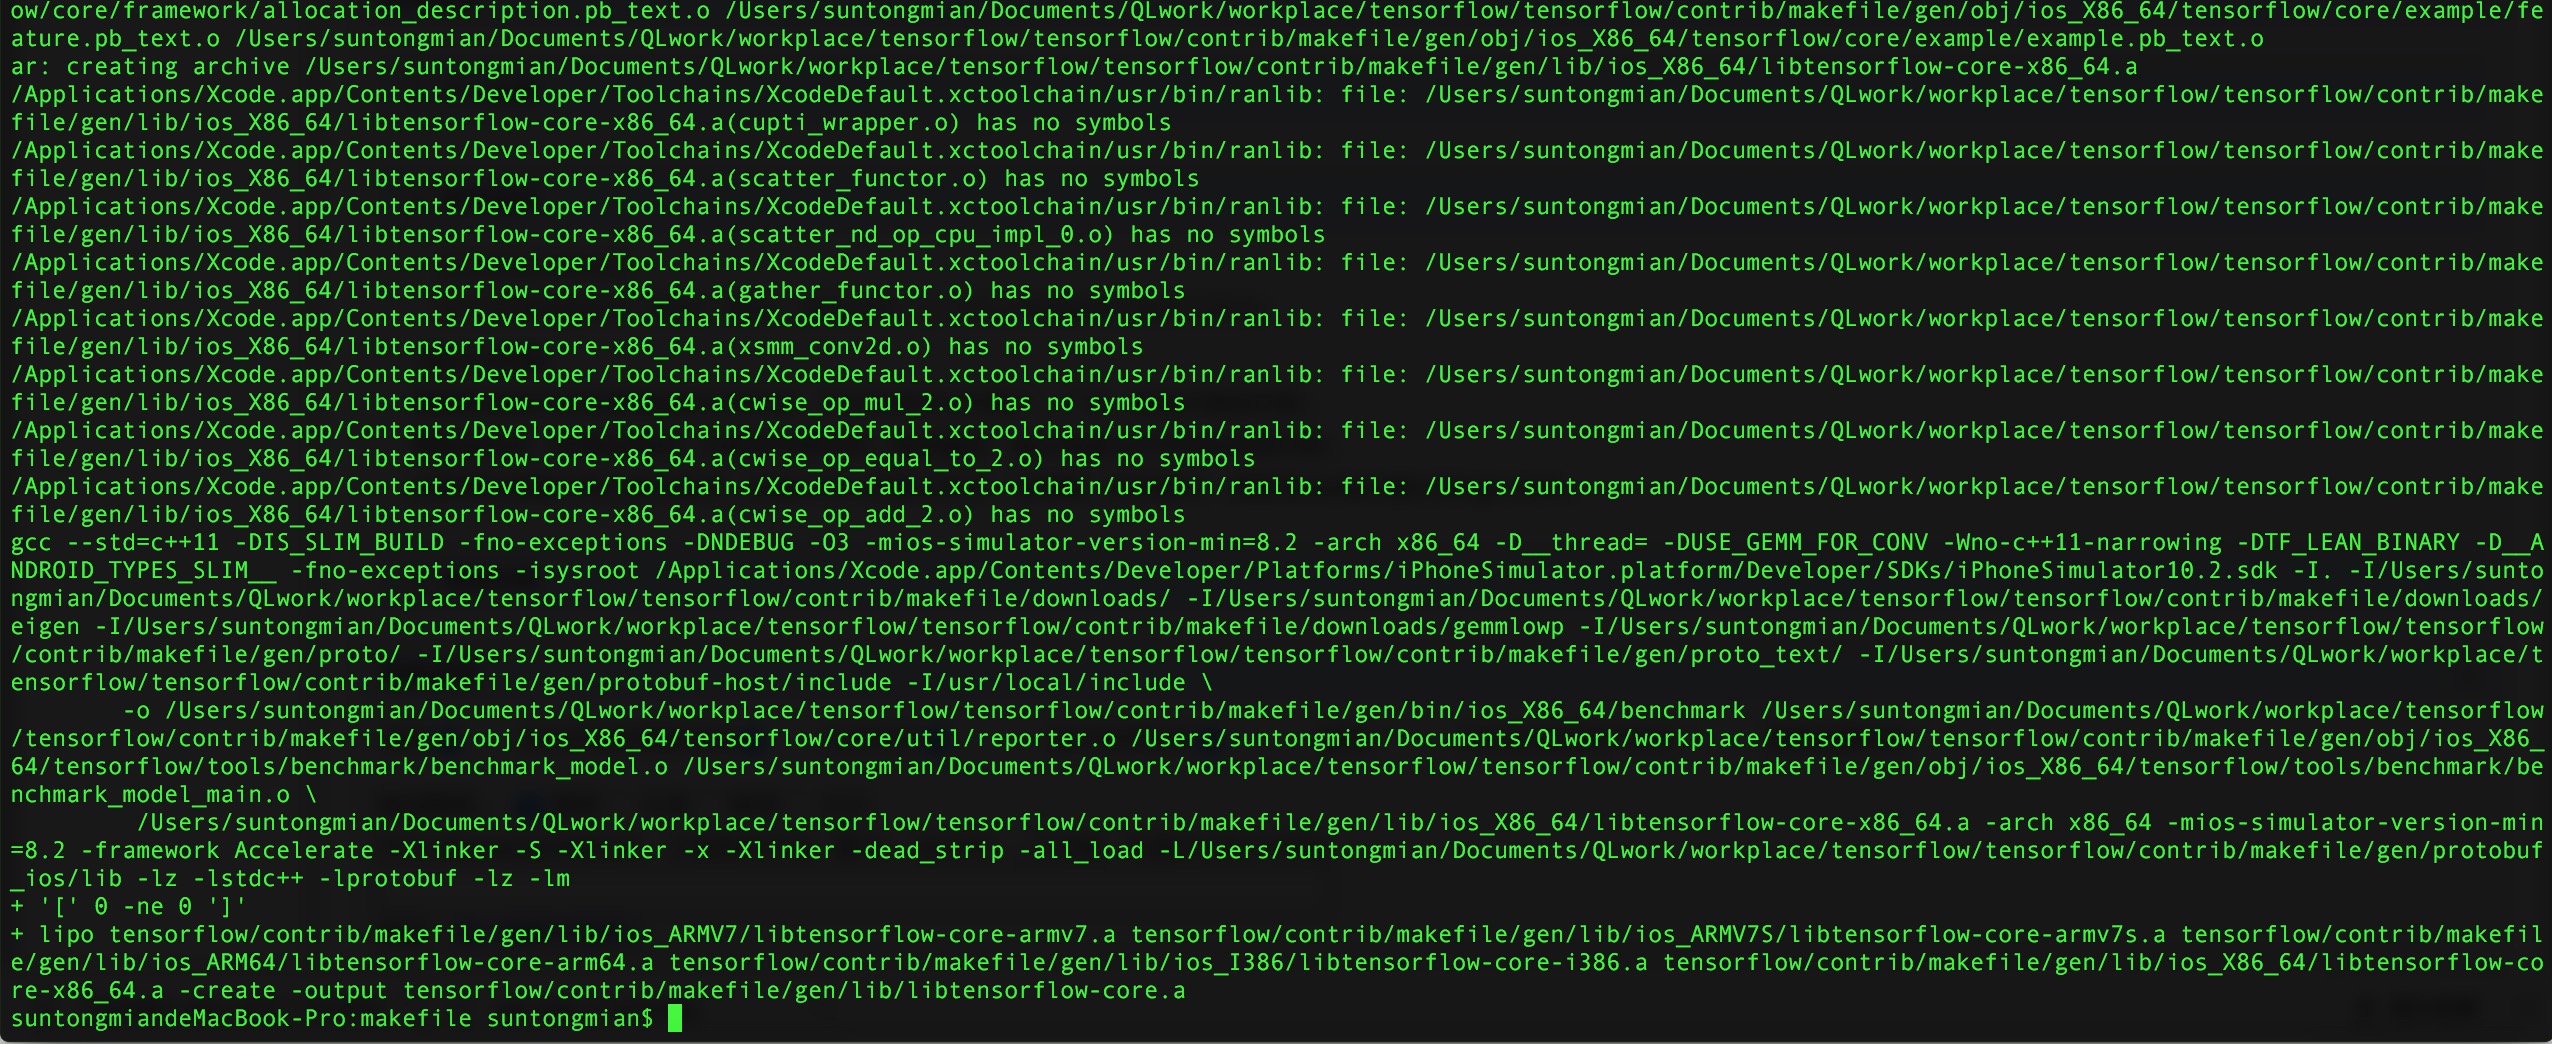
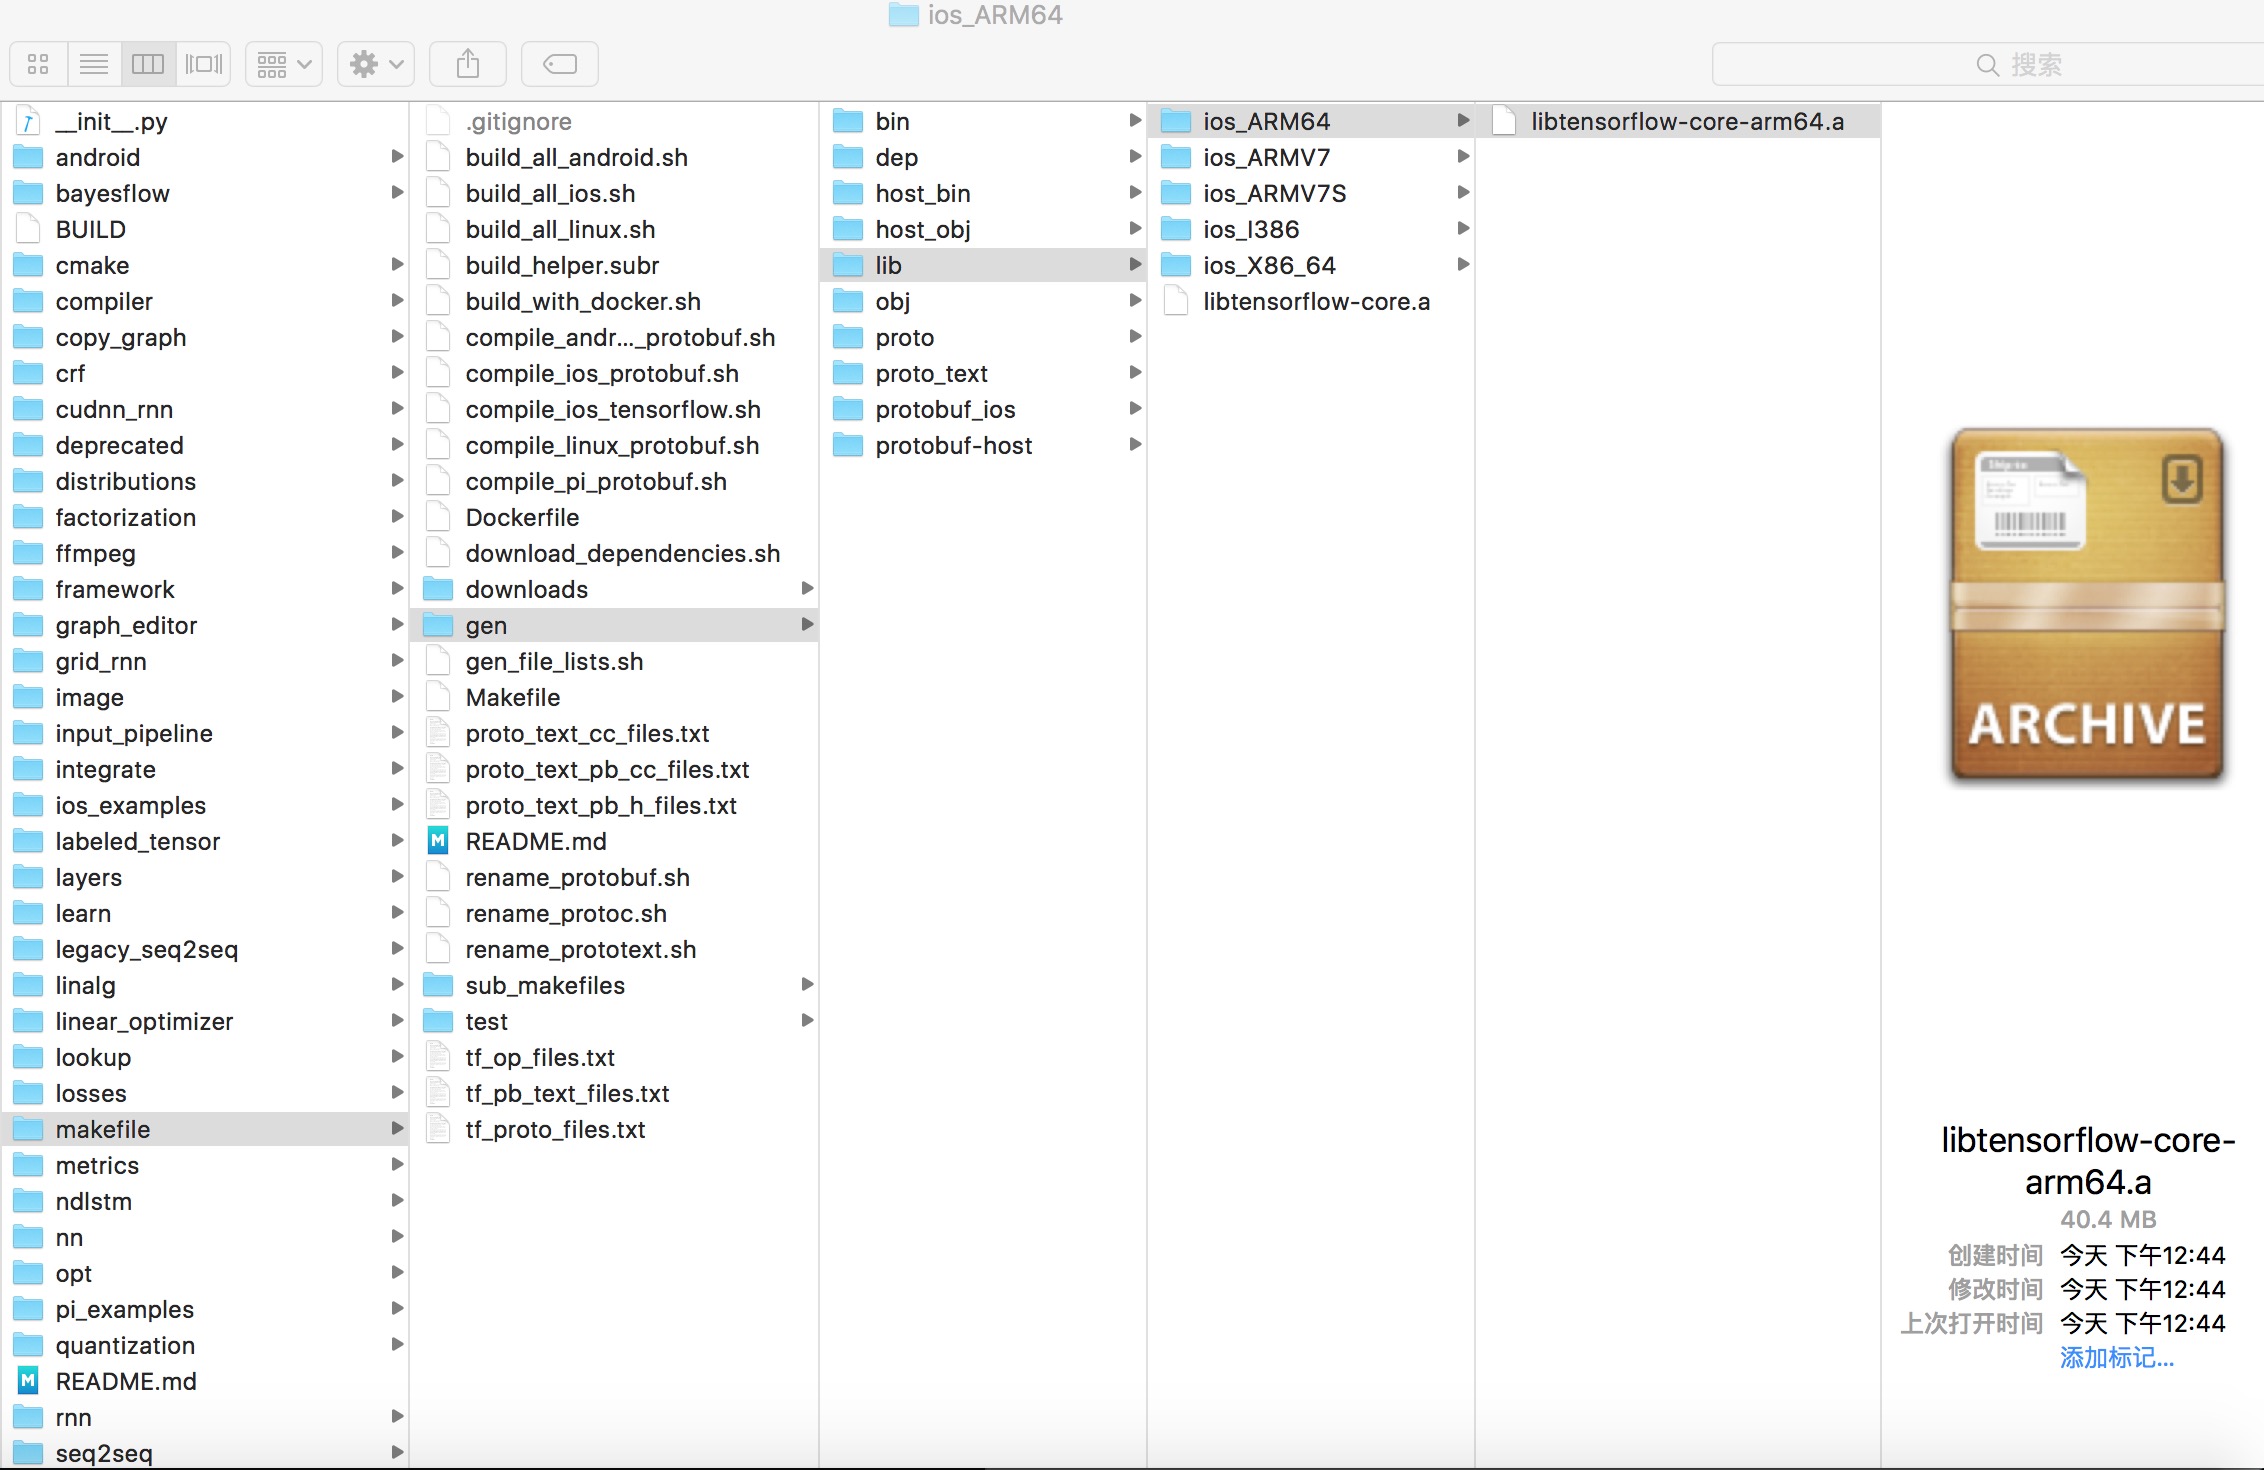
libtensorflow-core.a 所在的路径和支持的 CPU 架构 armv7,armv7s,i386,x86_64,arm64 如下:

3. 打开 tensorflow/contrib/ios_examples 下的 Xcode 工程
3.1 tf_ios_makefile_example.xcodeproj
进入 /tensorflow/tensorflow/contrib/ios_examples/simple 文件夹打开工程 tf_ios_makefile_example.xcodeproj 运行 run
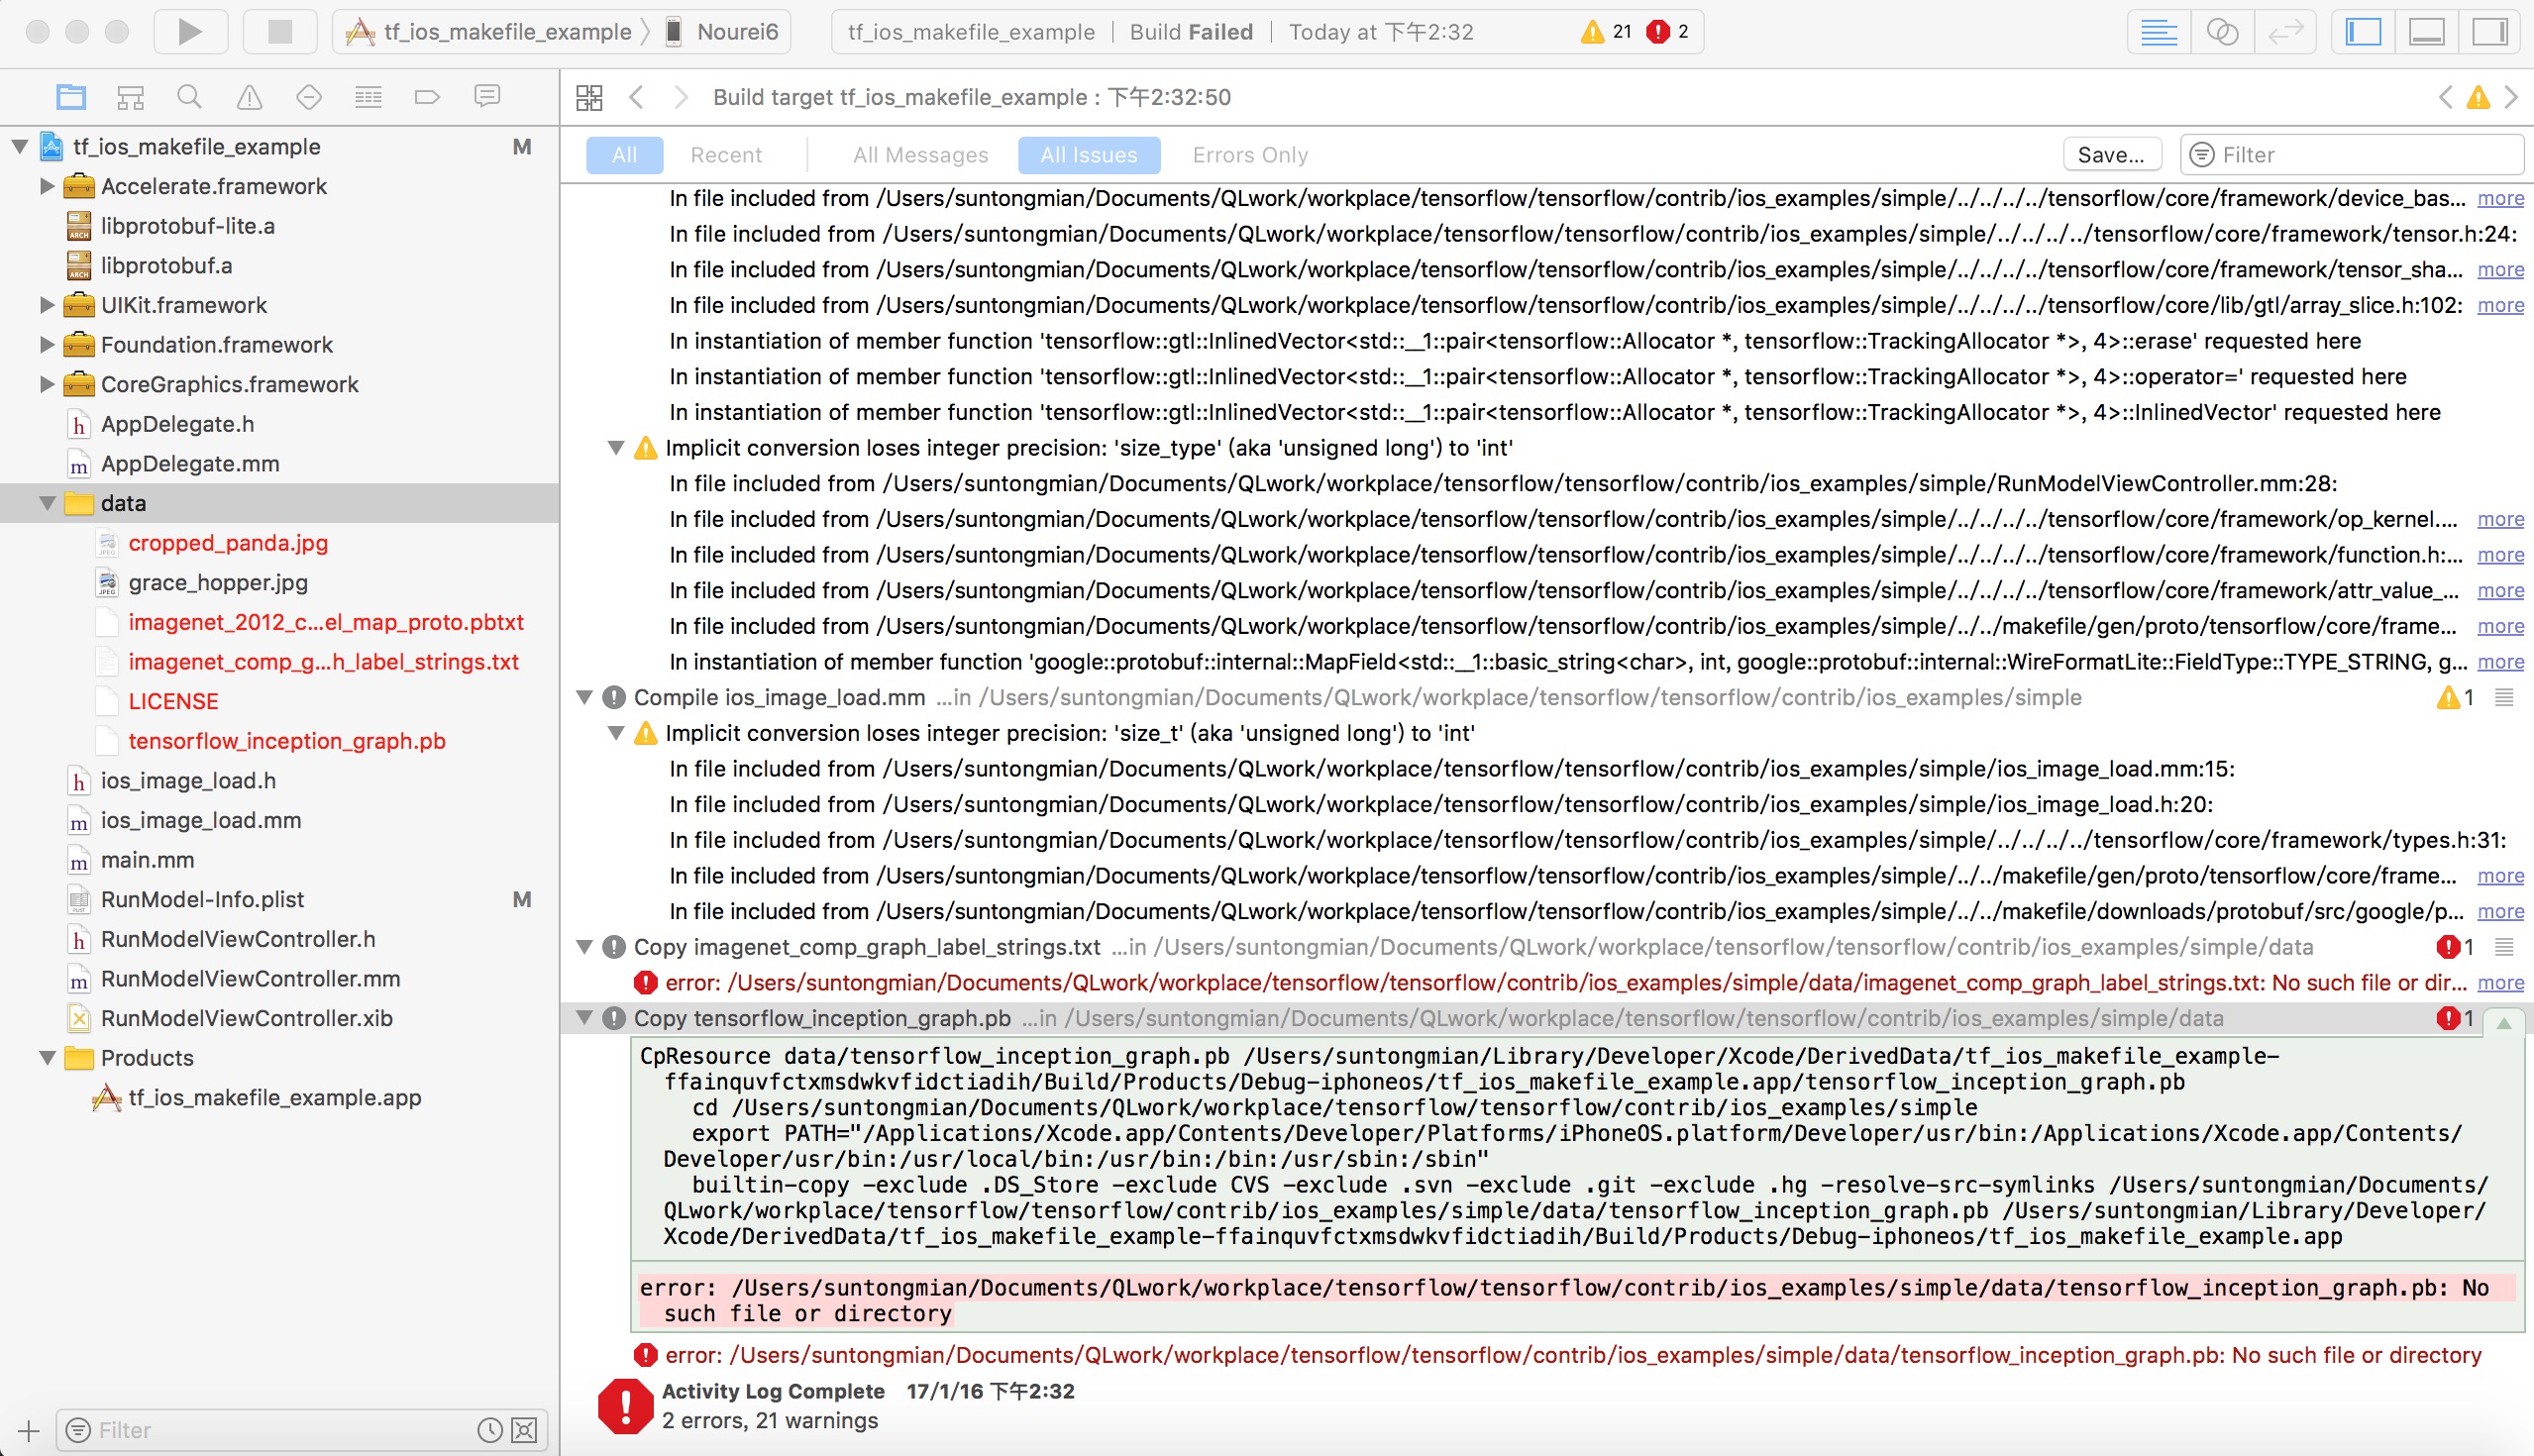
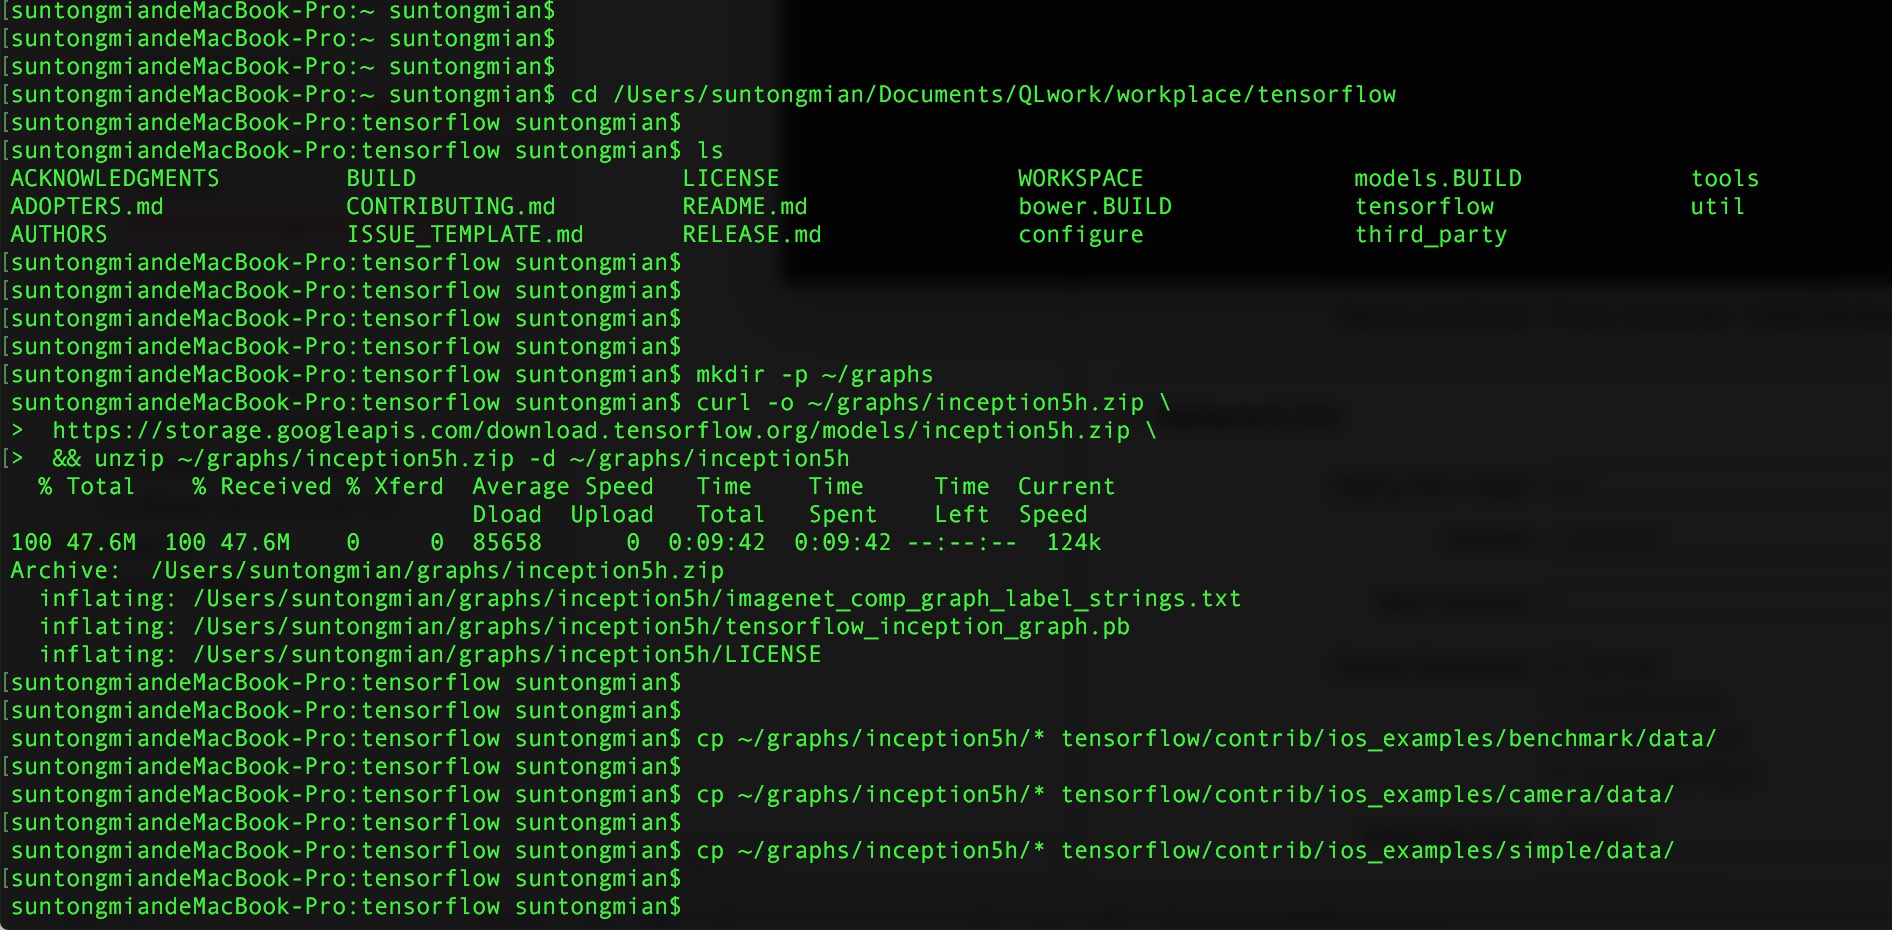
参考TensorFlow iOS Examples 文档 加载 iOS demo 工程所需要的数据模型,需要操作的命令如下
1 | mkdir -p ~/graphs |
具体操作:先进入 tensorflow 的根目录,然后依次执行上面的命令。
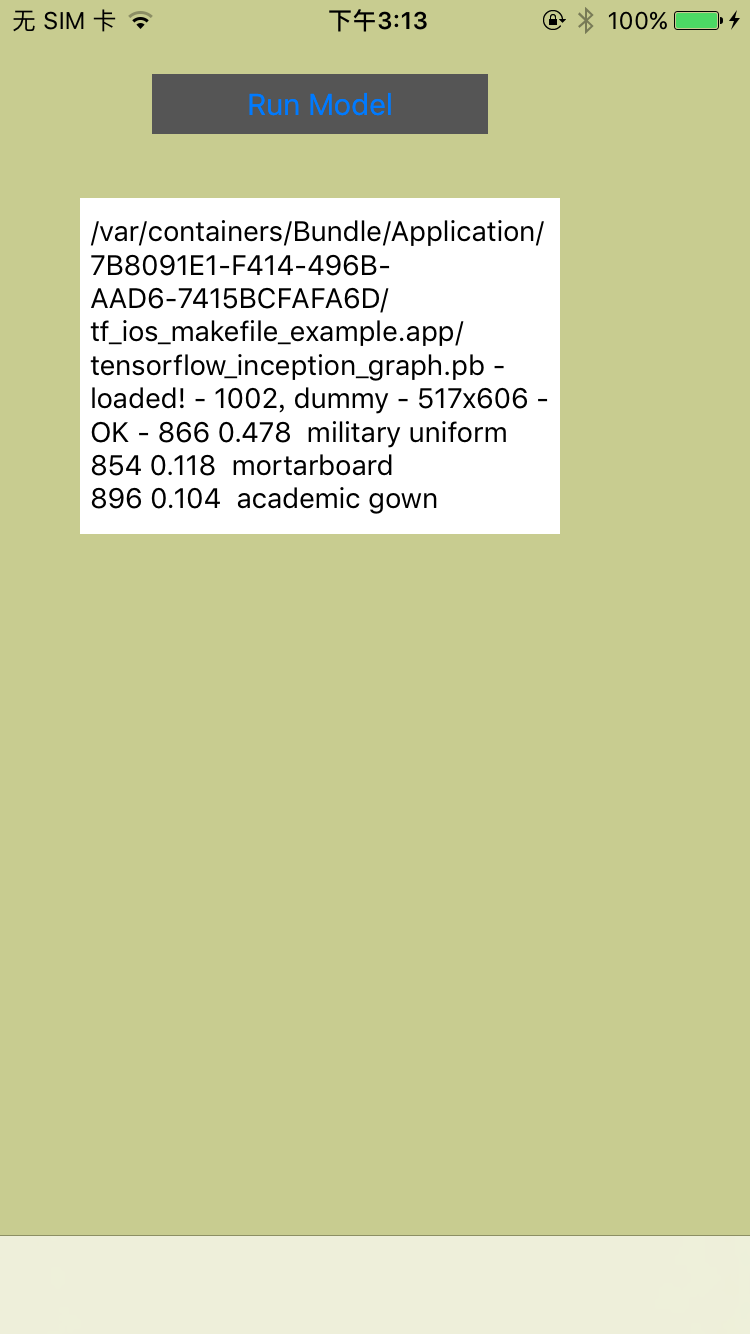
此时,在 Xcode 中 clean(快捷键是 command + shift + k) 下 tf_ios_makefile_example.xcodeproj 工程。运行 run(快捷键是 command + r),success 后 iOS 设备出现的界面和点击按钮 Run Model 后的界面如下图所示:

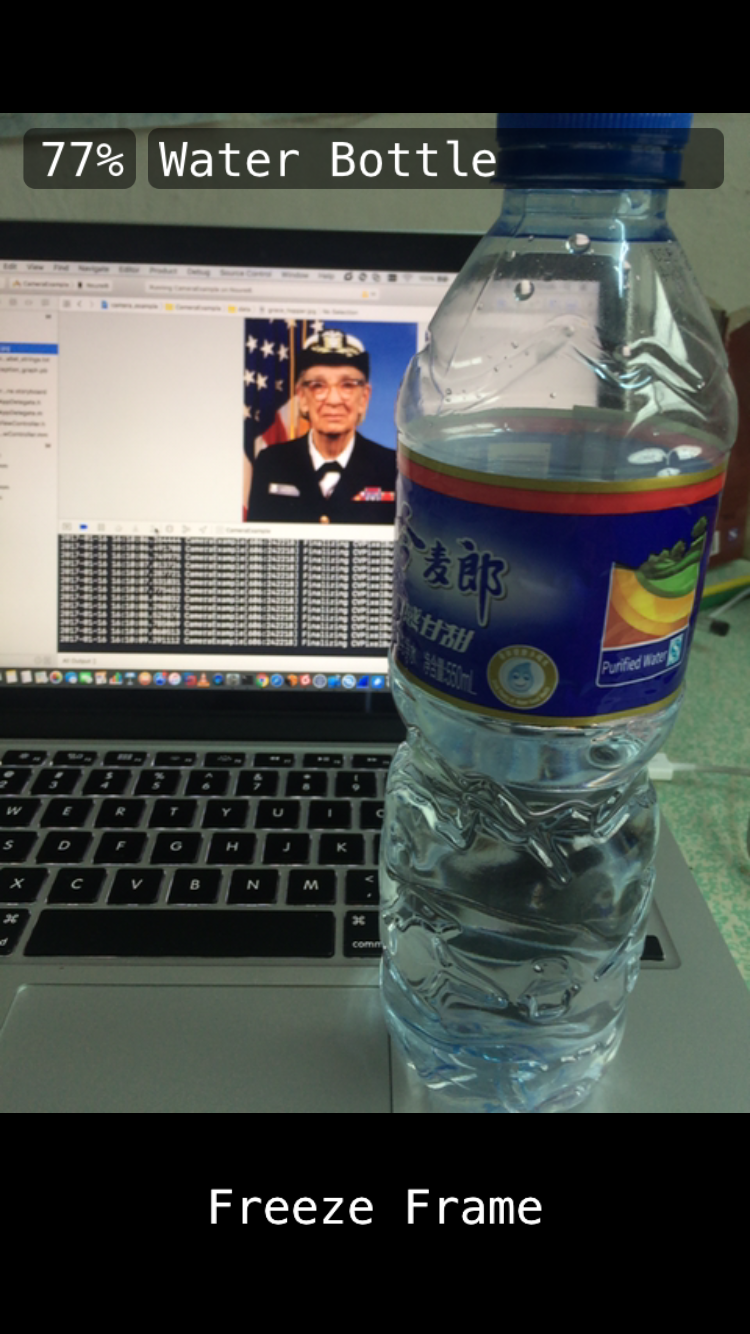
3.2 camera_example.xcodeproj 可以识别出物体
3.3 benchmark.xcodeproj

