在上一篇文章 WebRTC 开发(五)编译与运行 Mac 工程 中,我们编译了 WebRTC 的工程 AppRTCMobile,也看到了 App 启动后的初始界面。本文基于 WebRTC M76 ,将通过展示两人加入视频会议的 App 界面来分析视频画面的渲染流程。
不管是远端还是本地的用户的视频画面渲染,我们可以将网络或本地的一些预处理看成一个盒子或者模块,我们可以从盒子或模块中不断的取出视频帧,然后通过 cpu 或 gpu 的处理将视频帧,也就是一张图片呈现到显示器上。WebRTC 的视频帧处理逻辑以及渲染逻辑是怎样的呢?这需要通过阅读代码来理清楚流程。
在分析问题之前,我先展示下 WebRTC 的 AppRTCMobile 的视频会议演示效果,如下图所示:
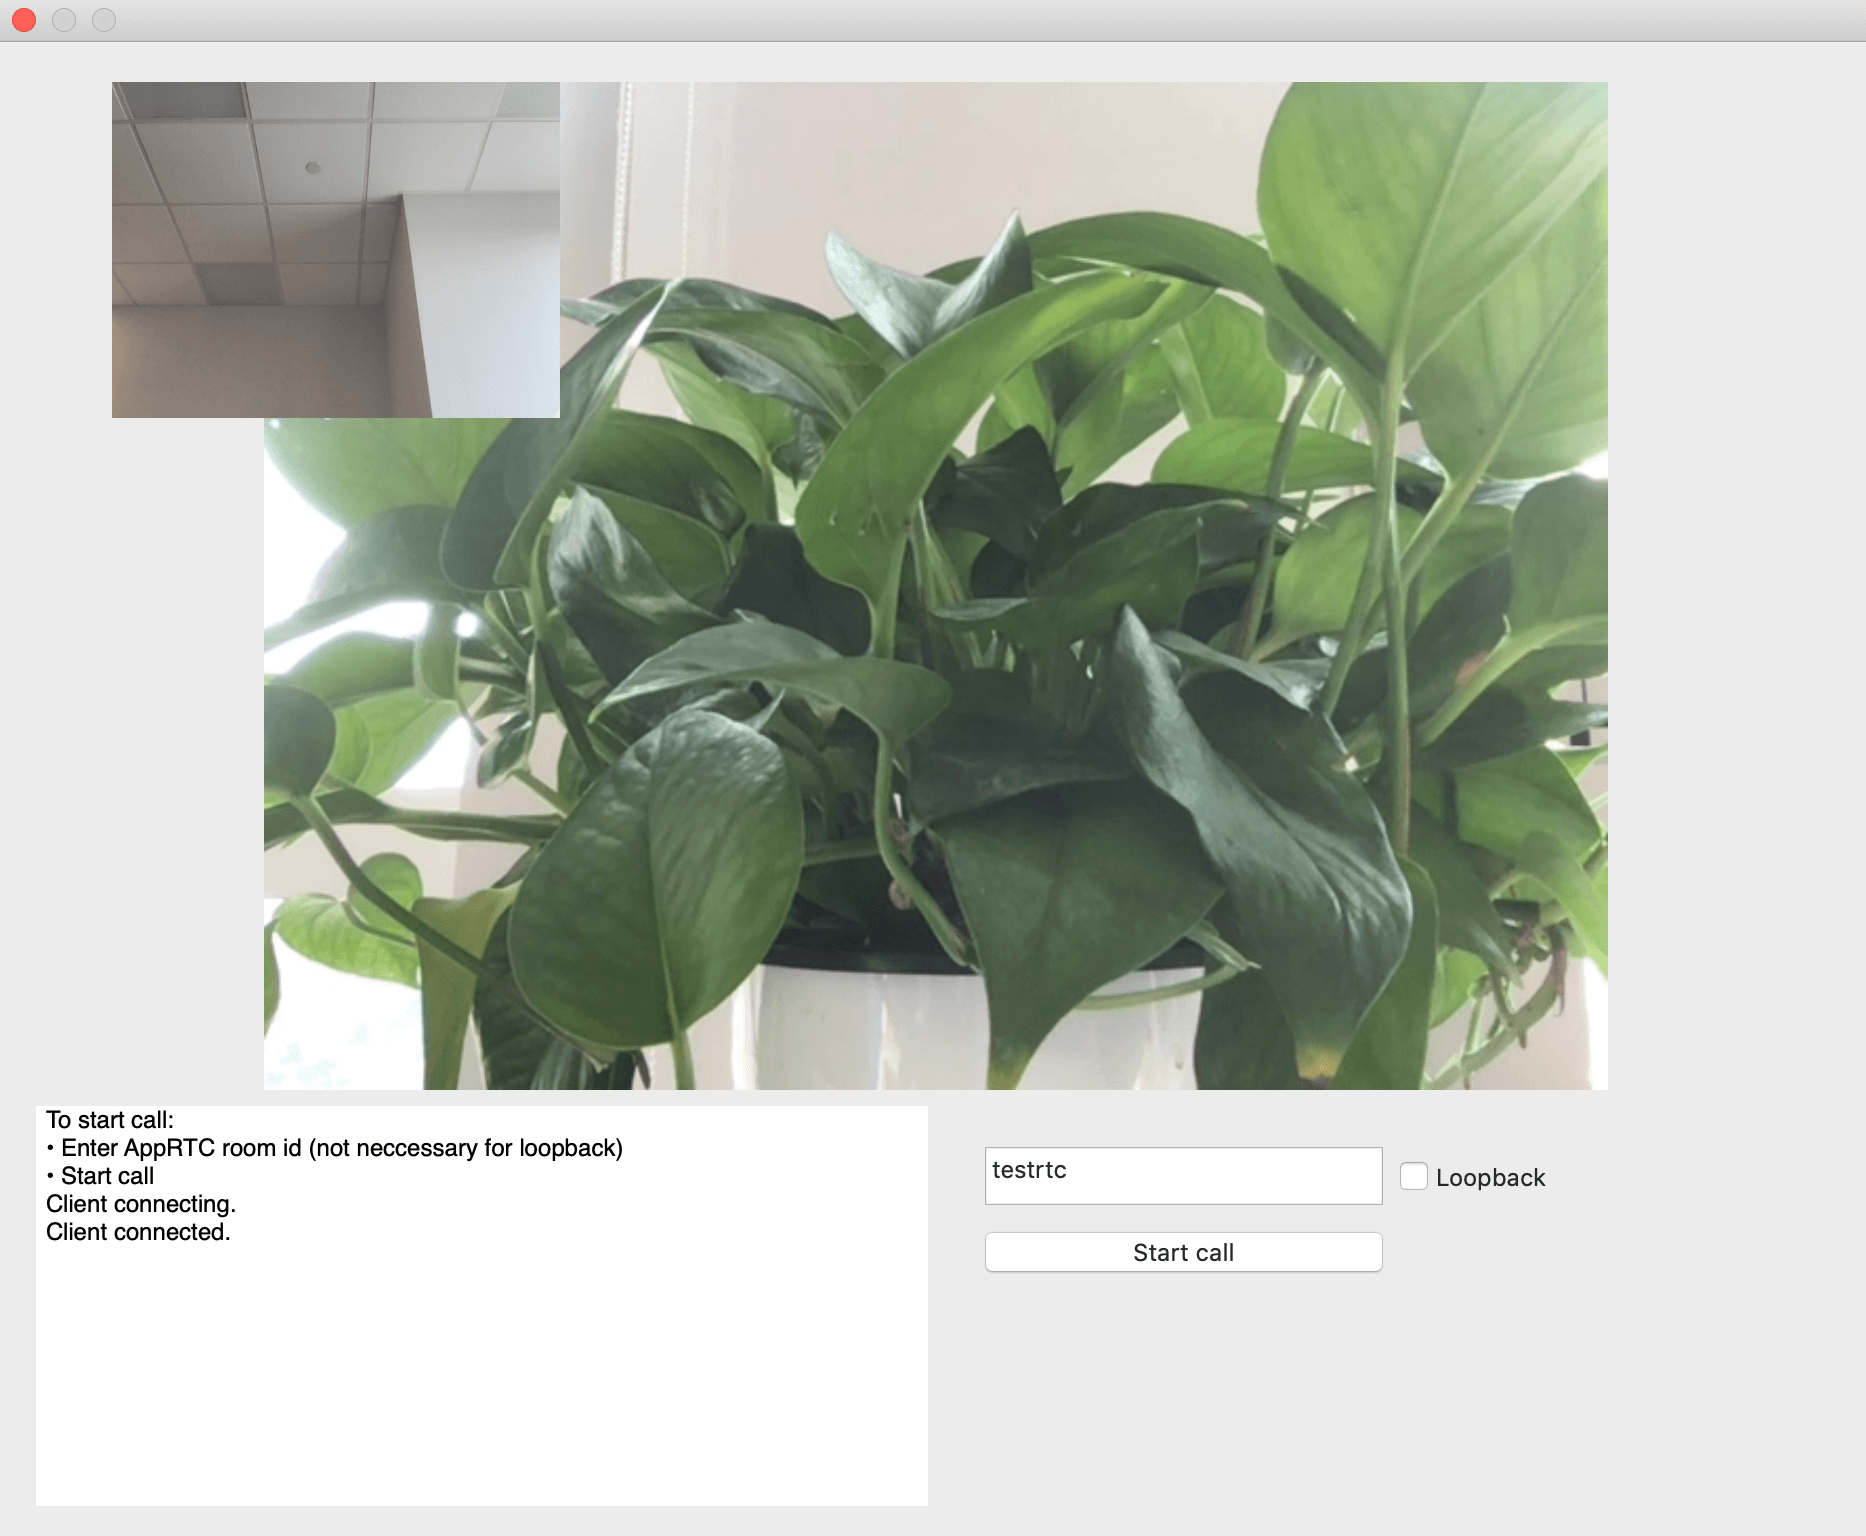
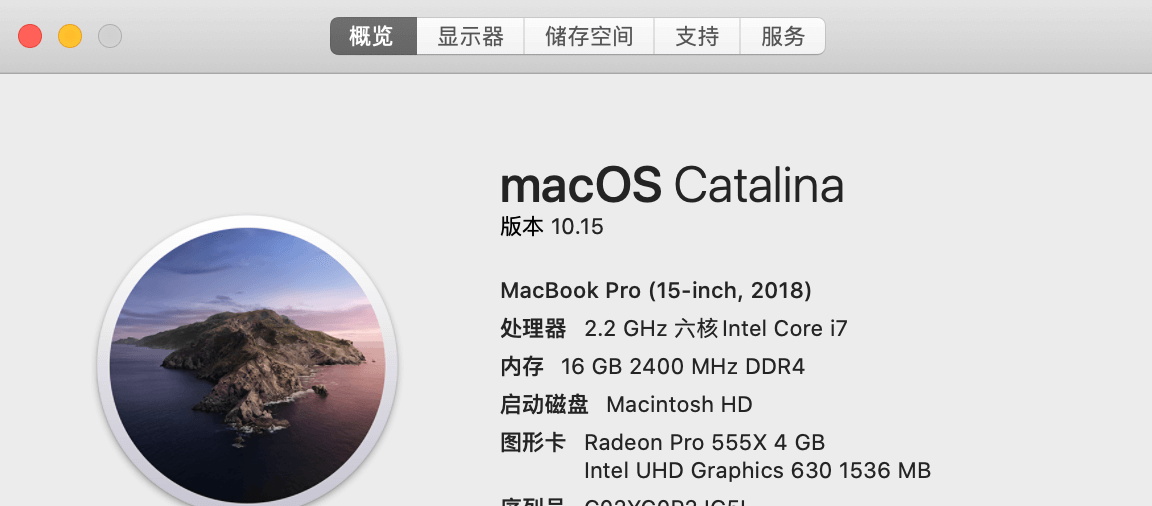
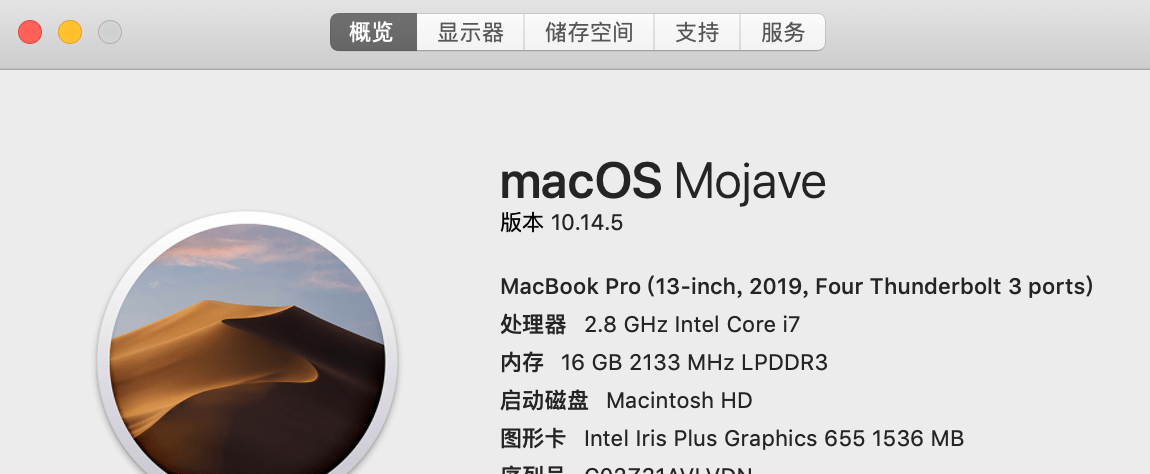
视频会议中我使用的是两台 Macbook Pro,其中:(1)小窗口画面是本地用户,对应的是15寸 Mac;(2)大窗口画面是远端用户,对应的是13寸 Mac。对应的设备参数如下:
如果只有一台 Mac 机器,那该怎么测试两人加会效果呢?可以使用 WebRTC Web 版:https://appr.tc 加入会议。
摄像头采集
代码位置:webrtc/src/sdk/objc/components/capturer
1
2
| RTCCameraVideoCapturer.h RTCCameraVideoCapturer.m
RTCFileVideoCapturer.h RTCFileVideoCapturer.m
|
视频渲染
代码位置:webrtc/src/sdk/objc/components/renderer
1
2
3
4
5
6
7
8
9
| # metal
RTCMTLVideoView.h RTCMTLVideoView.m
RTCMTLNSVideoView.h RTCMTLNSVideoView.m
RTCMTLRenderer.h RTCMTLRenderer.mm
RTCMTLRenderer+Private.h
RTCMTLRGBRenderer.h RTCMTLRGBRenderer.mm
RTCMTLNV12Renderer.h RTCMTLNV12Renderer.mm
RTCMTLI420Renderer.h RTCMTLI420Renderer.mm
|
1
2
3
4
5
6
7
8
9
10
| # opengl
RTCNSGLVideoView.h RTCNSGLVideoView.m
RTCEAGLVideoView.h RTCEAGLVideoView.m
RTCOpenGLDefines.h RTCVideoViewShading.h
RTCDefaultShader.h RTCDefaultShader.mm
RTCShader.h RTCShader.mm
RTCNV12TextureCache.h RTCNV12TextureCache.m
RTCI420TextureCache.h RTCI420TextureCache.mm
RTCDisplayLinkTimer.h RTCDisplayLinkTimer.m
|
视频渲染方式有两种,分别为 Metal,OpenGL。
工程 AppRTCMobile 首选的渲染方式为 Metal,当硬件设备不支持 Metal 时,就使用 OpenGL。
采集渲染流程
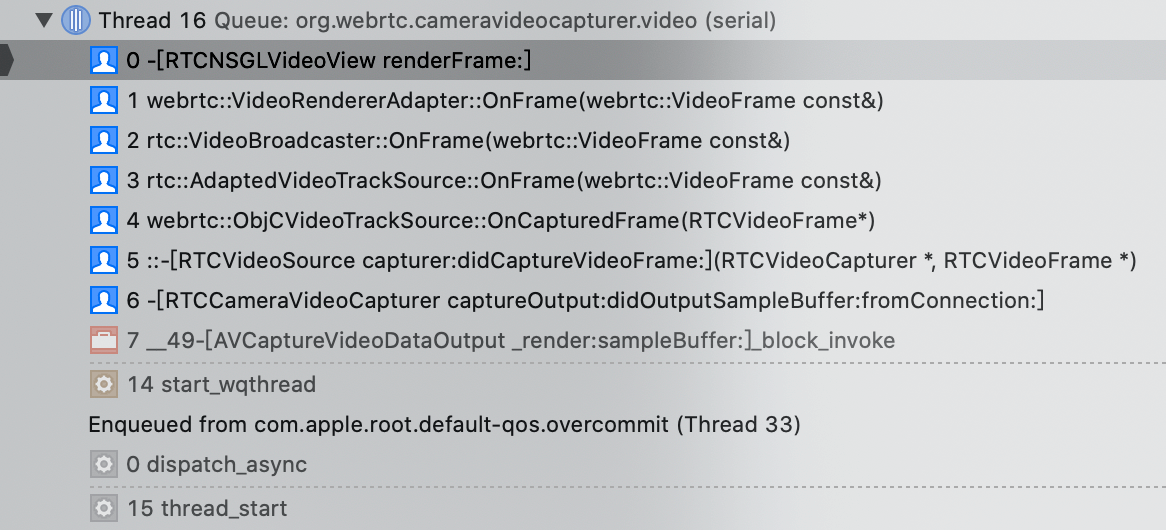
摄像头采集和渲染逻辑的函数调用如下图:
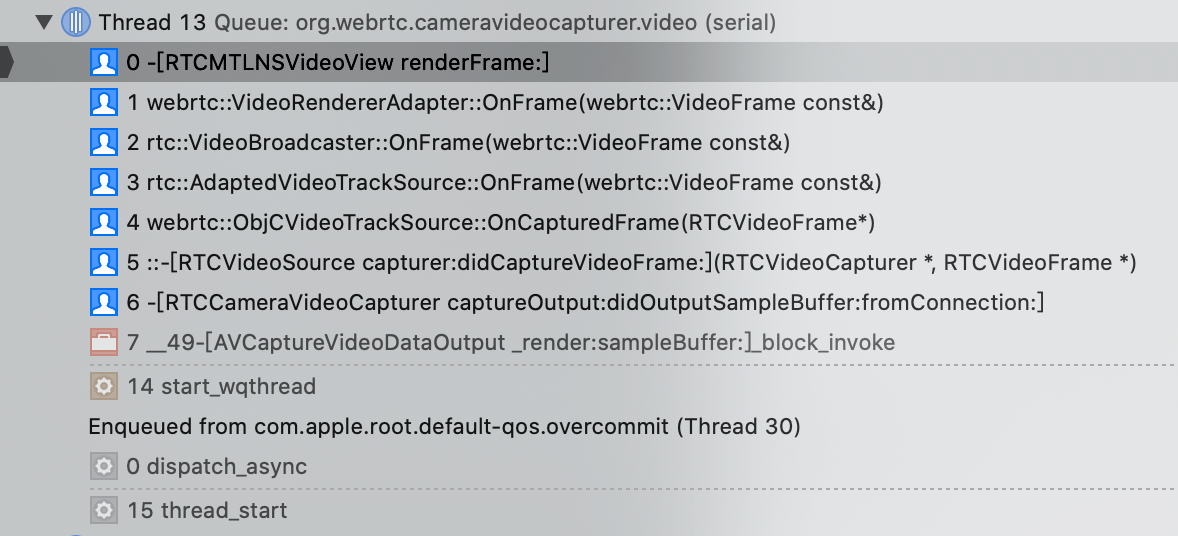
从图中可以看出,视频的渲染方式为 Metal。
使用 OpenGL 渲染视频
当硬件设备支持 Metal 时,工程 AppRTCMobile 启用的是 Metal,但是我们想使用 OpenGL 来渲染视频,该怎么设置呢?
代码位置:webrtc/src/examples/objc/AppRTCMobile/mac
1
2
3
| APPRTCAppDelegate.h APPRTCAppDelegate.m
APPRTCViewController.h APPRTCViewController.m
Info.plist main.m
|
查看文件 APPRTCViewController.m 中的方法 - (void)setupViews
1
2
3
4
5
6
7
8
9
10
11
12
13
14
15
16
17
18
19
20
21
22
23
24
25
26
27
28
29
30
31
32
33
34
35
36
37
38
39
40
41
42
43
44
45
46
47
48
49
50
51
52
53
54
55
56
57
58
59
| - (void)setupViews {
NSParameterAssert([[self subviews] count] == 0);
_logView = [[NSTextView alloc] initWithFrame:NSZeroRect];
[_logView setMinSize:NSMakeSize(0, kBottomViewHeight)];
[_logView setMaxSize:NSMakeSize(FLT_MAX, FLT_MAX)];
[_logView setVerticallyResizable:YES];
[_logView setAutoresizingMask:NSViewWidthSizable];
NSTextContainer* textContainer = [_logView textContainer];
NSSize containerSize = NSMakeSize(kContentWidth, FLT_MAX);
[textContainer setContainerSize:containerSize];
[textContainer setWidthTracksTextView:YES];
[_logView setEditable:NO];
[self setupActionItemsView];
_scrollView = [[NSScrollView alloc] initWithFrame:NSZeroRect];
[_scrollView setTranslatesAutoresizingMaskIntoConstraints:NO];
[_scrollView setHasVerticalScroller:YES];
[_scrollView setDocumentView:_logView];
[self addSubview:_scrollView];
#pragma clang diagnostic push
#pragma clang diagnostic ignored "-Wpartial-availability"
if ([RTCMTLNSVideoView class] && [RTCMTLNSVideoView isMetalAvailable]) {
_remoteVideoView = [[RTCMTLNSVideoView alloc] initWithFrame:NSZeroRect];
_localVideoView = [[RTCMTLNSVideoView alloc] initWithFrame:NSZeroRect];
}
#pragma clang diagnostic pop
if (_remoteVideoView == nil) {
NSOpenGLPixelFormatAttribute attributes[] = {
NSOpenGLPFADoubleBuffer,
NSOpenGLPFADepthSize, 24,
NSOpenGLPFAOpenGLProfile,
NSOpenGLProfileVersion3_2Core,
0
};
NSOpenGLPixelFormat* pixelFormat =
[[NSOpenGLPixelFormat alloc] initWithAttributes:attributes];
RTCNSGLVideoView* remote =
[[RTCNSGLVideoView alloc] initWithFrame:NSZeroRect pixelFormat:pixelFormat];
remote.delegate = self;
_remoteVideoView = remote;
RTCNSGLVideoView* local =
[[RTCNSGLVideoView alloc] initWithFrame:NSZeroRect pixelFormat:pixelFormat];
local.delegate = self;
_localVideoView = local;
}
[_remoteVideoView setTranslatesAutoresizingMaskIntoConstraints:NO];
[self addSubview:_remoteVideoView];
[_localVideoView setTranslatesAutoresizingMaskIntoConstraints:NO];
[self addSubview:_localVideoView];
}
|
将其中的代码段注释掉,就可以启用 OpenGL 来渲染视频了
1
2
3
4
5
6
7
8
9
10
11
| if ( && ) {
_remoteVideoView = ;
_localVideoView = ;
}
改为
// if ( && ) {
// _remoteVideoView = ;
// _localVideoView = ;
// }
|
摄像头采集和 OpenGL 渲染视频的流程如下图:
